How many pounds of potatoes does your family go through in a year? Probably more than you think! Canning potatoes gives you a great quick fix item from your pantry. You can use canned potatoes in so many ways! Try adding them to soups, stews, and casseroles. And don’t forget about mashed potatoes! I have to say when you are trying to figure out what to fix for dinner canned potatoes is a time saver.

Canning Potatoes
For 7 quart jars you’ll need about 20 pounds.. That is an average of 2.5 to 3 pounds per quart. This will vary according to the size of your potato and how much peeling you do.
Supplies and Ingredients
- Pressure Canner
- Canning jars
- Canning lids and rings
- Jar lifter and canning funnel
- Large bowl
- Potato peeler
- Sharp knife
Ingredients
- Potatoes – about 20 pounds will do 7 quarts
- Canning salt – optional
- Sea salt –
Prepare your jars and lids and keep them hot until needed. Check the air vent and overlock on the canner lid to make sure they are not blocked.
Preparing the Potatoes
Wash and peel your potatoes. Cut into pieces between 1-2 inch cubes.
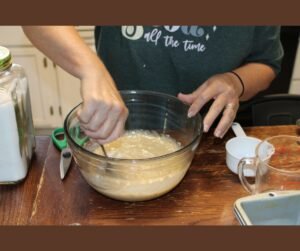
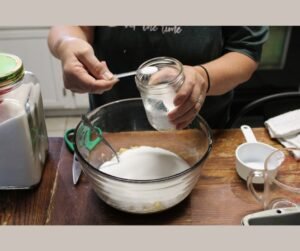
Fill a large bowl with cool water and stir in 2 teaspoons of sea salt. Stir it up until it dissolves. This will keep the potatoes from turning brown as you cut them up. This will also rinse away some of the starch. When you are done peeling and cutting, drain, and I like to rinse again. The more you rinse the less starchy your jars will be.
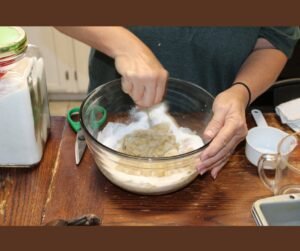
If you have small potatoes that are 1 to 1½ inches in diameter you can leave those whole. Larger potatoes need to be cut into ½ to 1-inch cubes. As you cut them, put them into the salt water. If you have time, leave them in the water for 20 to 30 minutes, changing out the water about halfway through. After the potatoes have soaked in the salt water, get the tea kettle going for the hot to pour over the jarred potatoes.
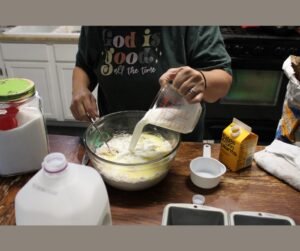
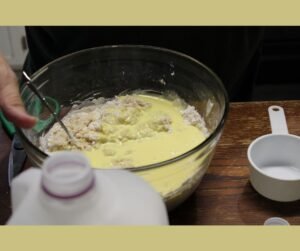
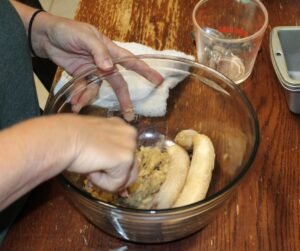
Drain the potatoes in a colander. Pack the potatoes into the hot jars, leaving 1 inch headspace. Now add the boiling water leaving 1 inch of headspace.
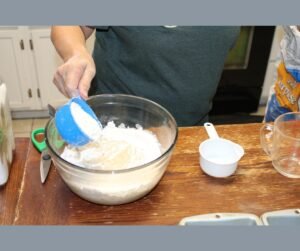
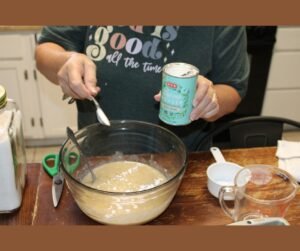
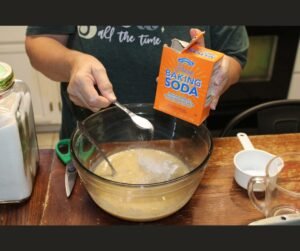
Add canning salt, if desired, using ½ teaspoon in pints, ¾ teaspoon in 1½ pints and 1 teaspoon in quarts. Using a bubble popper or thin knife, run it around the inside of the jar to release any trapped air. Top off with boiling water if needed.
Wipe the rim of the jar with a clean dry cloth or paper towel to make sure it’s clean.
With your lid lifter, pull out the lids and put them on the jars. Screw the rings on finger tight.
Now take that water the lids and rings were in and pour that into the canner, adding a splash of white vinegar if you have hard water.
Processing Potatoes
Ok. Now that the lids are on, it’s time to put the jars into the canner. Put the lid on and seal it and turn the heat to high.
Allow the canner to vent for the specified length of time for your canner.
Now put the regulator on the air vent and bring it up to pressure.
Once it has reached the required pressure, start your timer.
Processing Times
Pints – process for 35 minutes
Quarts – process for 40 minutes
Be sure to use the pressure according to your altitude see the chart below. For more information, see this altitude adjustments page.
When the processing time is up, turn off the heat and allow the pressure to return to zero.
Once the pressure is zero, remove the regulator and wait another 5 to 10 minutes before unsealing the lid.
Make sure the lid is facing away from you when you open the canner.
After processing, remove the jars from the canner and allow them to sit undisturbed for a minimum of 12 hours.
After 12 hours, check the seals, wash and label the jars, and put them away.
Canning potatoes at home gives you a lot of bang for your buck!
Especially if you grow your own.
But you can also save big by stocking up when potatoes are on sale in November and December.
Stored properly, canned potatoes will last a minimum of 2 years.
Must You Really Peel for Canning?
Canning potatoes with skins on is not recommended. Potatoes need to be peeled for canning. It is a safety issue, not just a quality issue. Peels will naturally carry more bacteria that is found in the dirt. Scrub as you like. You’ll still get a cleaner product if you peel.
Yes, you really must peel. The reason is that the spores that can cause issues with botulism are found in the soil. Since the potato grows directly in the soil, there is a higher chance that botulism may be a risk. This is the same with all root crops.
How to Reduce Starchiness in Home Canned Potatoes
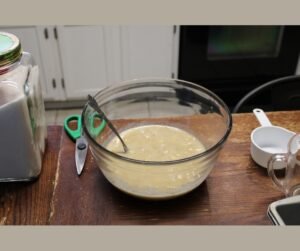
Rinse, rinse, and rinse again to reduce starchy, cloudy water. Adding clean, fresh water will reduce the amount of starch in the jars. That high starch content is unappealing but not dangerous.
One thing I noticed with my last batch of potatoes. As the jars set on your shelf… the water gets more starchy with time. This is normal and doesn’t hurt a thing. So don’t be surprised by the unappealing look.
Some links may be affiliated. By purchasing an item from an affiliate link, I receive a small commission – but you are not charged more or less by clicking or purchasing through the link. Thank you for supporting me!
Some of our Post That Might Interest You
- CANNING DRY BEANS WITHOUT SOAKING
- HOW TO MAKE SWEET TEA
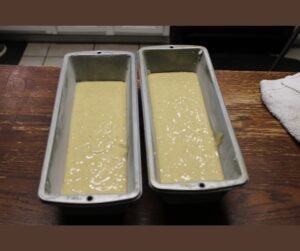
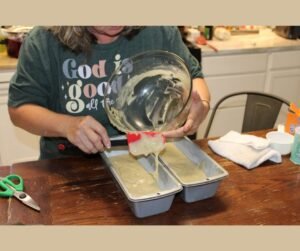
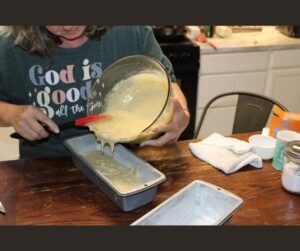
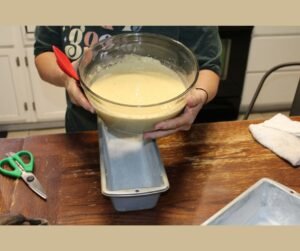
- BANANA BREAD
- GREEN TOMATO WORMS
- HELLO JUNE 2025
- HELLO MAY 2025
- HELLO APRIL 2025
- DAY LIGHT SAVINGS
- HELLO MARCH 2025
- HAPPY NEW YEAR 2025
- MERRY CHRISTMAS 2024
- CHRISTMAS SURPRISE
- MERRY CHRISTMAS
- HELLO DECEMBER
- WHY FAMILY TRADITIONS MATTER
- My Crochet Journey
- Hello World


")
